Installing Nim on Windows
Before we can begin programming in Nim we must first install the standard libraries and compiler.
This is available online from the Nim language site as a simple and free download.
https://nim-lang.org/install_windows.html
Windows users have both 32-bit and 64-bit editions available.
There are several installation methods using choosenim, scoop & manual installation. In these examples, we will use choosenim.
Choosenim installs Nim from the official repositories, its created by Dominik Picheta who is a core developer for the Nim language. It enables fast and easy switching between versions of Nim.
- Navigate to the choosenim releases page on the official GitHub repository.
- Download the latest release in our case, it will be the choosenim-0.6.0_windows_amd64.zip
- Once the download is complete unzip the contents and execute the
runme.bat
Once the installation has run, choosenim is installed into %USERPROFILE%\.choosenim and nim is installed in %USERPROFILE%\.nimble\bin
- Add the folder
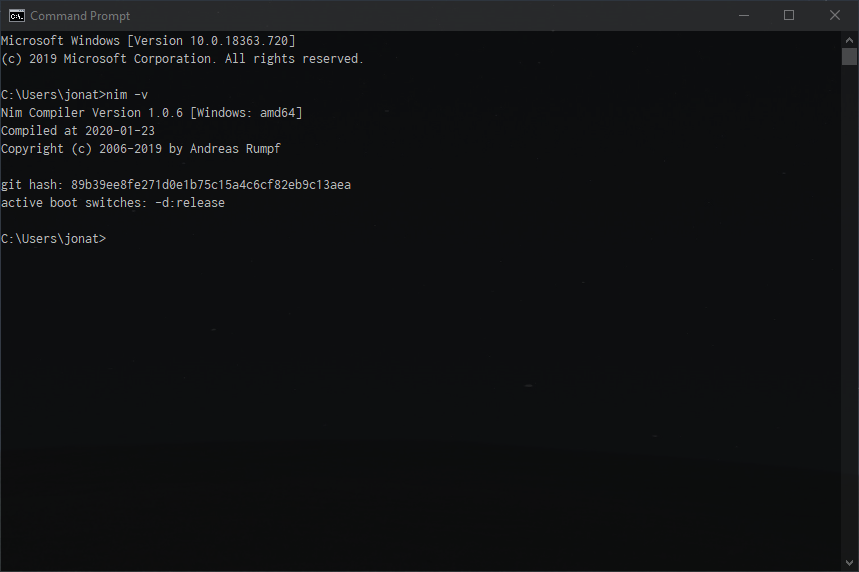
%USERPROFILE%\.nimble\binto your users’ Path environment variable. - Finally, confirm that Nim is detected correctly by opening a new cmd window and running
nim -v